Keep Collector Movement Within a Safe Decision Band
Practice limiting long cross-arena chases while respecting the gem goal and time limit of the bundled collector.
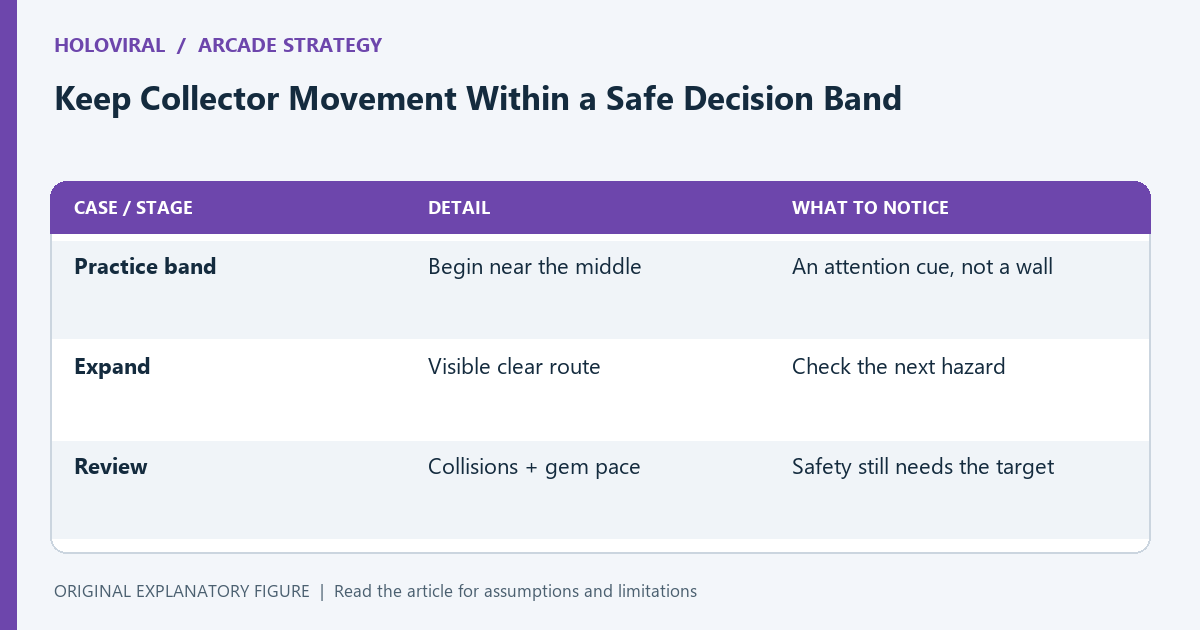
A collector can lose lives while crossing the arena for rewards that looked attractive a moment earlier. A decision band is an informal practice rule: begin by choosing nearby opportunities and expand only when the route is clear. This guide uses Orbit Collector’s local rules. It is a strategy experiment, not an optimal route algorithm or a guarantee of completing the gem target.
Start from the actual win condition
Orbit Collector requires eighteen gems within seventy-five seconds and begins with three lives. Ignoring all distant rewards indefinitely may protect lives but fail the target. A conservative practice rule still needs the score and time context.
Read the status during the run. The objective is not simply to survive forever; the local mode has a finite target and deadline. Keep both visible when deciding whether a nearby opportunity is enough.
Choose a narrow starting region
For one practice attempt, begin around the middle rather than chasing every object across the full arena. Watch objects higher on the screen to identify their likely approach. The region is a attention cue, not a hard boundary enforced by the game.
If a gem requires crossing beneath a red hazard, let it pass for this exercise. Notice whether avoiding that chase leaves you ready for the next safer gem. Keep the observation specific rather than concluding that the center is always safe.
Expand only for a visible clear route
When a distant gem has no immediate hazard conflict, decide whether the move still leaves a way to respond to the next object. A clear route now can become awkward if you arrive at the edge with another hazard approaching.
The engine generates objects randomly, so there is no fixed sequence to memorize. Look ahead and use the actual field. Do not claim a predetermined path works on every run merely because it succeeded once.
Compare collisions and missed opportunities
After the attempt, note one avoidable collision and one gem deliberately skipped. Also record whether the target remained plausible as time ran down. A safe-looking strategy that collects too slowly needs adjustment.
Change the band or selection rule for the next attempt while keeping the same edition and input. Compare the type of decision, not just the final score. Randomness can make score-only comparisons difficult to interpret.
Keep a balanced practice conclusion
Write a rule you can apply again, such as “skip long crossings under hazards, but take clear nearby routes.” Avoid a note that simply says “never leave the center.” A useful strategy describes a condition and action.
Open Orbit Collector for the exercise and the route guide for more context. Stop after a small number of deliberate attempts. The useful outcome is clearer reward selection with the target and deadline acknowledged, rather than an unsupported promise that one band guarantees a win.
| Case or stage | Detail | What to notice |
|---|---|---|
| Practice band | Begin near the middle | An attention cue, not a wall |
| Expand | Visible clear route | Check the next hazard |
| Review | Collisions + gem pace | Safety still needs the target |